
This article introduces forward D-star transceiver’s GPS beacon to aprs.fi map by Raspberry Pi Ver2.0 .
Rx-only D-PRS iGate
A mixed solution by D-star and APRS call D-PRS system.
The digit communication of amateur radio rapid growth recently, especially there are some cheap DMR radio available from China manufacturers these years.

I had bought a DMR for testing. Price is cheap and function is simple; press and talk, nothing more.
In my opinion, digit comm. did not mean DMR only, and it should do more.
I found D-star rig was quite popular in US, and of course in Japan as it was invented there & support their government.
I buy a ID-31 handheld from Japan yahoo auction in last November for D-star system test.

The ID-31 is UHF band, hybrid (support analogue / D-star) and built-in GPS, its performance good.
But the GPS data Tx function work on D-star system only, how it work with aprs.fi map in cheap method?
I found most solution introduced in Web use D-star vehicle / desktop transceiver to forward the GPS data to aprs.fi map.
But I just got a ID-31, and no extra budget for an expensive D-star desktop transceiver.
Fortunately, while I study how to setup a hotspot for DV4mini communication, I found some hotspot software seems D-star compatible.
I decided to try the Western D-start Image for RPi.
Hardware Preparation
The connection is similar to Echolink setup on Raspberry pi 2, please refer my previous article.
The difference is no audio isloation transformer between the sound dongle and the transceiver.

A USB port connected to a USB sound dongle, another USB port connected to a USB to RS232 cord.
Please be reminds that the analogue transceiver should compatible to 9600bps packet speed. Most of the Japan Ham vehicle transceivers are 9600bps capacity. This kind of 2nd hand rig often available with reasonable price.

I use my Kenwood TH-F7 as demo. It is an analogue handheld which support 9600bps packet speed.
Software Preparation
Please download the Western D-star Rpi Image. The Developer is G4KLX .
There are 2 image suitable for our purpose:
The Arch–LXDE Raspberry Pi 2, and
D-StarRepeater + ircDDB + VNC Jessie .
Although the 2 images are 8G capacity, but I found Arch’s image is a little bit bigger and my Scandisk 8G card did not have enough space for it.
I use the later one for the test.
As I did not equip any AMBE coding device, it is an Rx only D-PRS system, no PTT need. So you may ignore the USB to RS232 cord mentioned above to save momey.
Configuration & Test
Clone the image to a 8G card, install and boot up the Rpi 2.

It is toy’s story wallpaper, so fun.
Modem1 Options

Press WDs Widget,what we need is to config. Modem 1 and Gateway Options.

Please enter your callsign, the B suffix means your node operate in UHF band.

Then setup the soundcard Modem

Please select the USB Audio Device, others parameters no need to change

Controller for PTT. Again, it is a RX-only iGate, so it is an option. Please select 2 if you want enable the PTT function.

Gateway configuration
The callsign of Gateway is same as modem; please input your co-ordinate manually.

Please enter information for Repeater 1


Ensure enable the D-PRS service.

On Misc tab, enable the D-RATS. D-RATS is a popular D-star freeware. We may test it later.

The configuration is completed. Please save & reboot. It is auto run after reboot.

Although the aprs.fi map show your callsign-B, but actually there have a -S on the bottom.

The ID-31 setup
Unlike analog aprs setting, the D-star Rig should be configure to the respond repeater.
Repeater name format is “yourcallsign B”
Use my callsign as an example. The repeater name is:
“VR2XKP B” ; there is a space between callsign and B.
As the D-star repeater duplex offset parameter is compulsory, please select DUP-, offset to 0.
GPS setting
The operation mode set to GPS-A (DV-A).
GPS Auto TX set to OFF.
The ID-31 setup completed.

Test

From the Gateway screen, I found the GPS beacon is transmit during release PTT button. Please be remind that do not press and release the PTT instantly, it will not TX GPS beacon. Tested and found press at least 2-3 sec then release wills TX the GPS beacon. It may be a design to avoid Tx accidently.

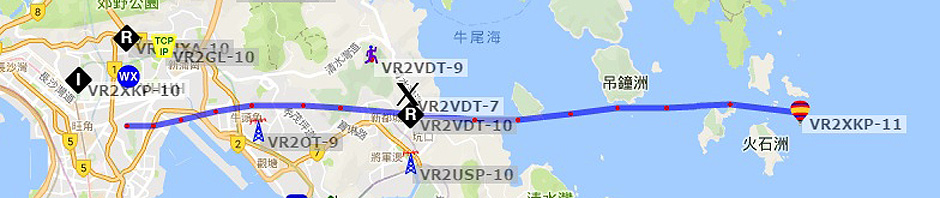
And I tested both dynamic GPS tracking and static GPS location which saved in ID-31 memory. Both can be forward to aprs.fi .
Conclusion
The method introduces in this article is a simple, cheap but work for a D-PRS iGate system. If you are a D-star user and wants a D-PRS iGate for advance test, it is a good choice.
